Wood Decorative Risers
Alright everyone!
This one is a quick and easy project but SO effective and pretty! Decorative risers are on trend as of late - you can find them everywhere, but you actually can make them cheaper than what you are finding in the store, and they can be made exactly how you like them!
They are great in your bathroom to hold soap, a great piece to put knick knacks on and something that helps give your decor game some height! I’ve used these in my bathroom as a soap “dish” (for under $4) as well as at work as a monitor stand and decor risers.
Supplies:
Wood of Your choice (I use cedar pickets from Home Depot)
Wood Glue
Clamps
Saw to Cut Wood (Miter, circular, etc)
Polyurethane/Sealer
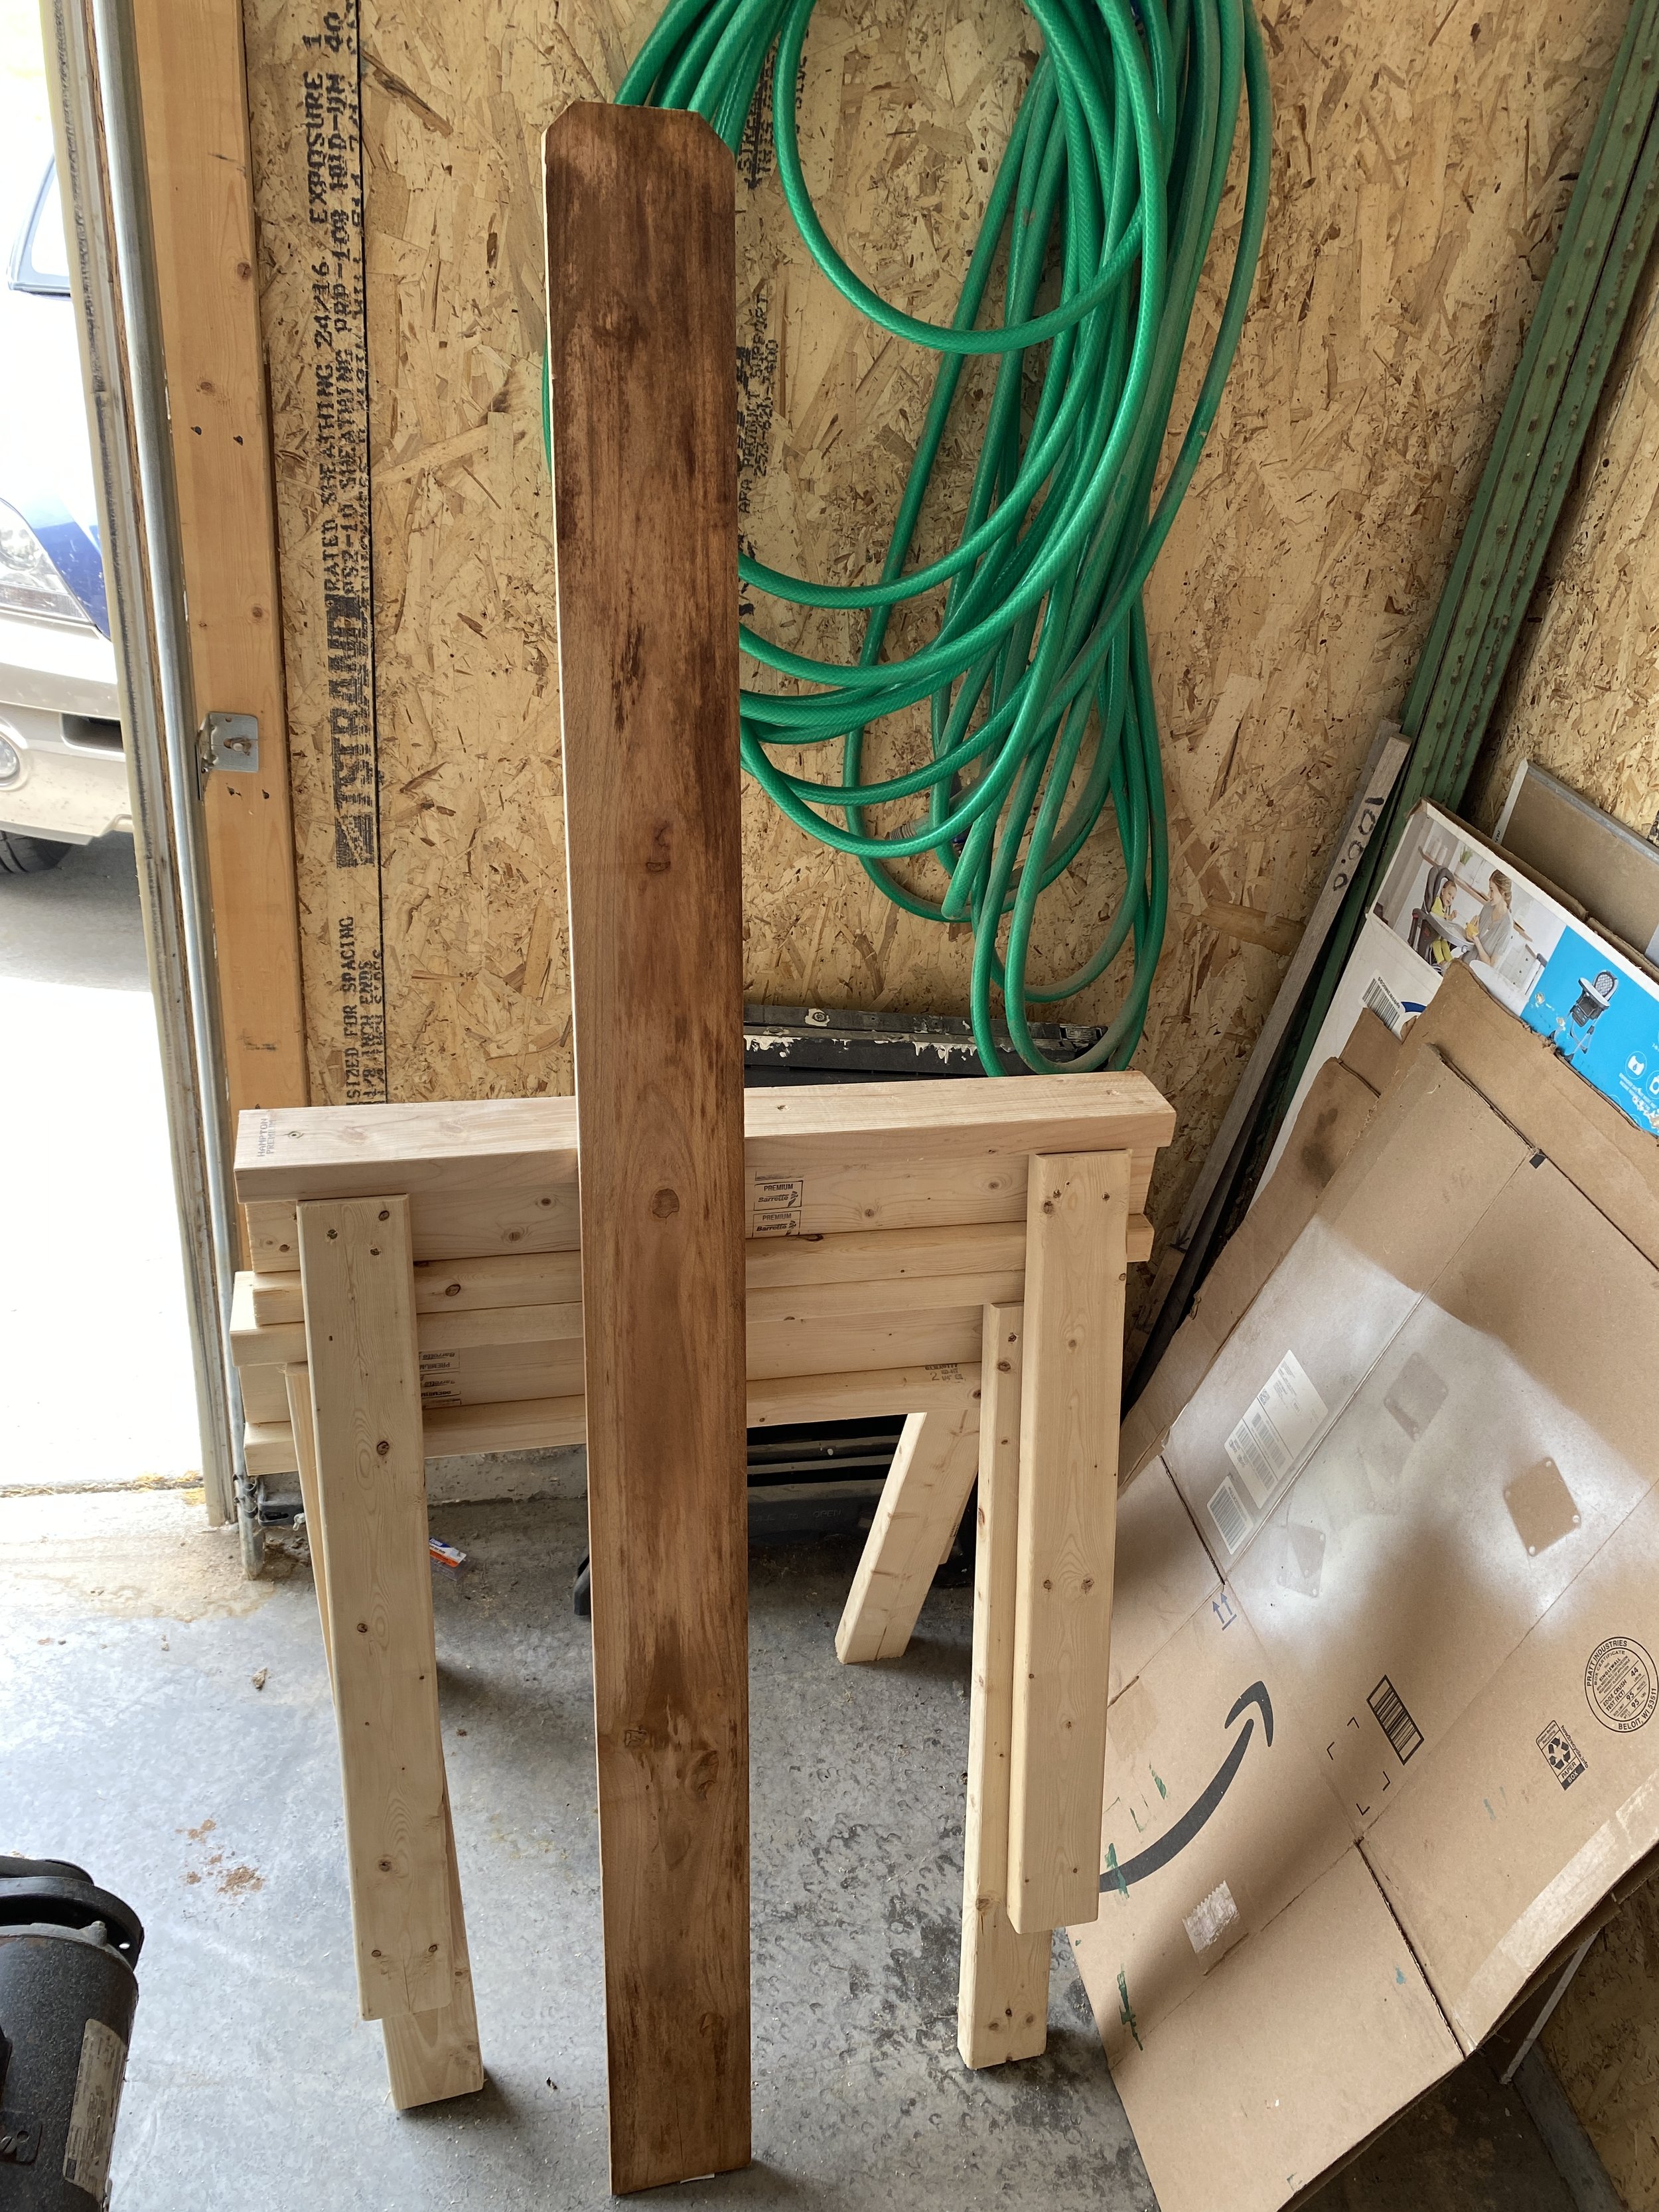
Cedar Fence Pickets
These are a great to get for a lot of wood projects for an affordable price! This 6 foot fence picket was under $4!
Step One: Select Your Wood
You really could make these out of anything, but in order to get these even cheaper for what they are going for in the store (about $8-$15), I suggest you grab a few cedar fence pickets from The Home Depot! They have the dog ears on the top, but they are only a few bucks a piece for a great piece of cedar - way cheaper than buying “lumber” that was meant for that. Just cut the dog eared tops off and you can create whatever your heart desires!
Cost of Supplies for Bathroom Riser: $4 (You seriously can’t go wrong!)
Step Two: Size of Base
Next up is to decide how big of a base you want your riser to be. For the one for the bathroom, I wanted one big enough to hold a soap dispenser and then a small decor plant or candle, so I brought those pieces out to the garage to make sure it was the correct size.
Step Three: Width of Base
Now you should determine the width of your base. The fence pickets can come in multiple widths. I used a 4” width for the soap dispenser (which is really like 3.5”). For the monitor stand, I combined two of them to get 7” across that hold the monitor stands (see the end for pictures)
Step Four: Cut to Size
Once you have those two measurements figured out, cut your base to size! You can really use whatever type of saw you have - miter, circular, table - whatever is on hand.


Step Five: Determine Height
Next up, you want to determine how tall you want the riser. For on the counter pieces like the soap holder, I only went for an inch tall, just enough for a moment in our bathroom. For the monitor stand, I wanted enough room to be able to put things underneath - sticky notes, hand lotion, chap stick, etc, so I eye balled it and marked it. (It ended up being about 3 inches tall)
Step Six: Cut Legs
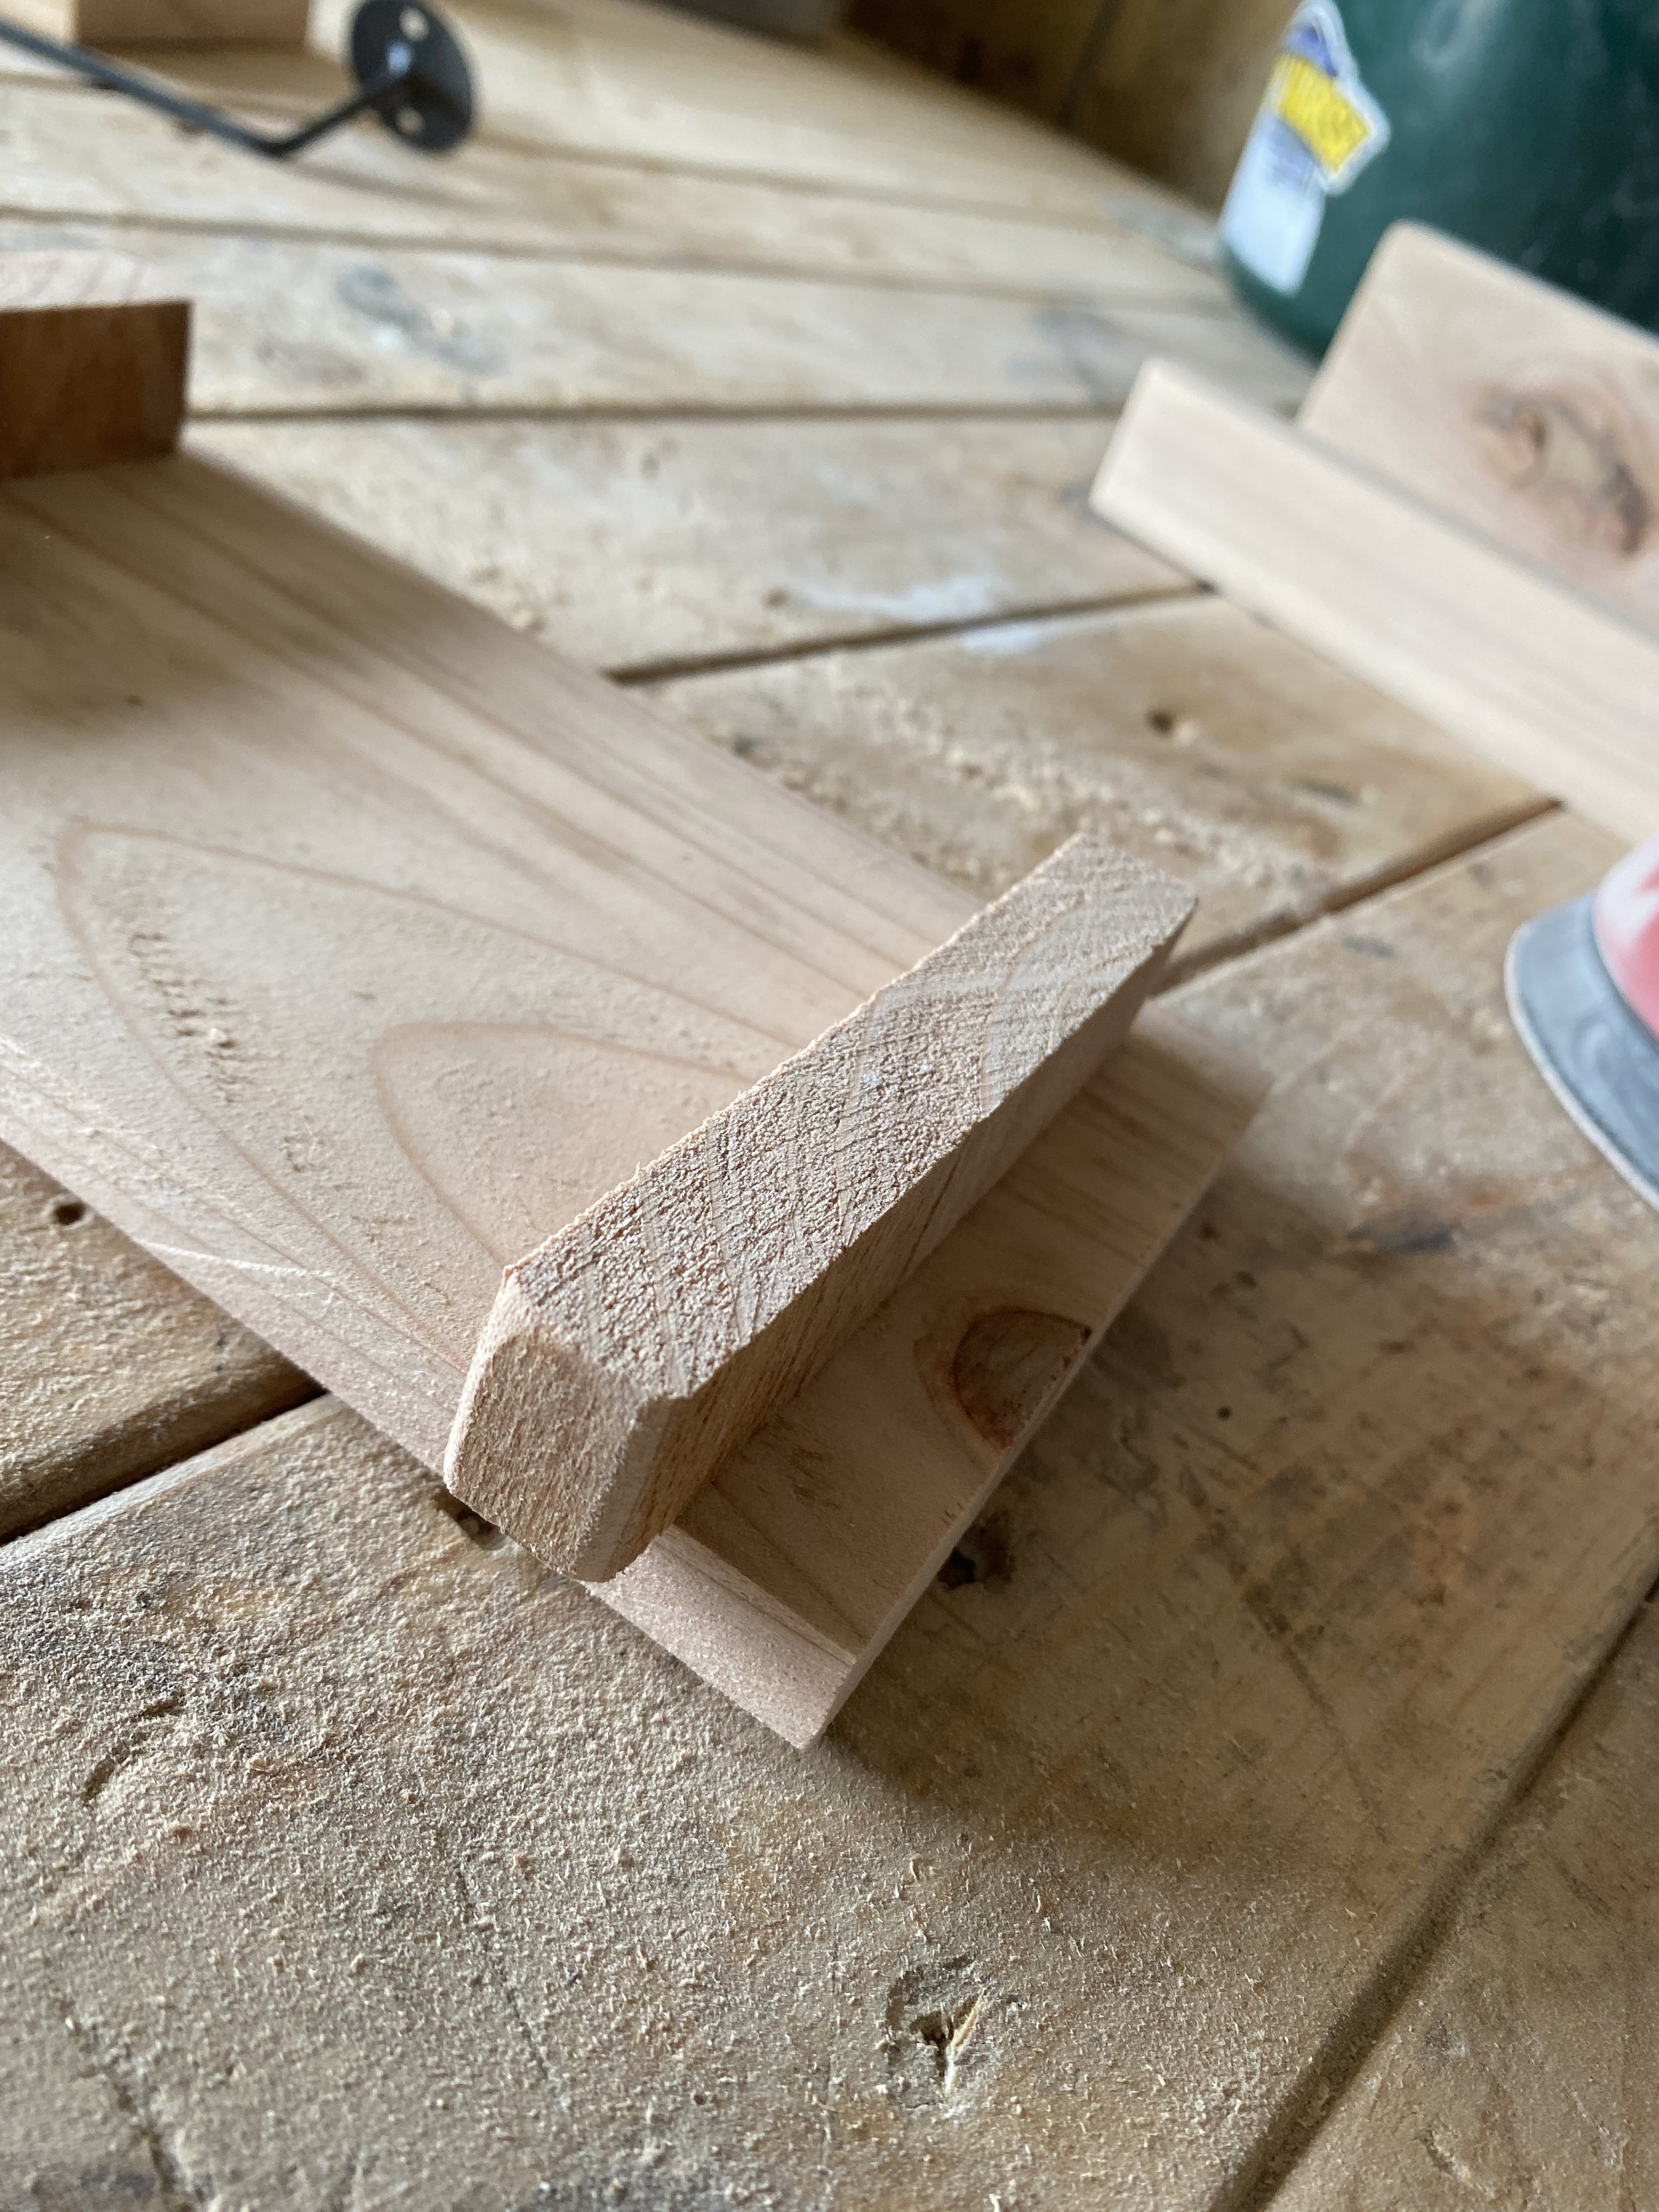
Once you figure out the height, cut two pieces the same length - these are your legs! Have the legs be around the same width as your base so it supports it all.
Step Seven: Sand
Sand!! The cedar pickets look pretty rough when you first get them, but they sand up really easily and look SO pretty!
On the corners, I took the sander all the way around to make them slightly flat to give the tops a “routered” look - it adds a little pizzazz without being too fancy. Since the wood is so easily sanded, it only took a few swipes. I also did this on the corners of the legs - it gives the “imperfect” look, which I love! You could also keep them all straight if that’s the look you prefer.
Step Eight: Glue!
Glue! All you need is some wood glue to finish building these. One leg at a time, apply the glue to legs and attach them to the base near each edge. Use a clamp to hold them together while they dry.
Pro Tip: I always have baby wipes on hand for almost every project I do. They will come in handy to clean up any of the excess glue that oozes out when you tightly clamp it. Make sure to do this right away.
Step Nine: Seal with Polyurethane
I let the wood glue dry for about an hour before removing the clamps. After that, you are going to want to seal your riser, especially if you’ll be using it in a wet area. Lately, I’ve been really fond of this spray on polyurethane. Run a coat on the whole thing about 3X, waiting about 1 hour in between each coat and then let it dry for a day without using it.
Step Ten: Done!
Enjoy! These are so so fun! Below are a few examples of other ways I have used this same technique for different things!


